Email Development
How to Customize an HTML Email Template in 7 Steps
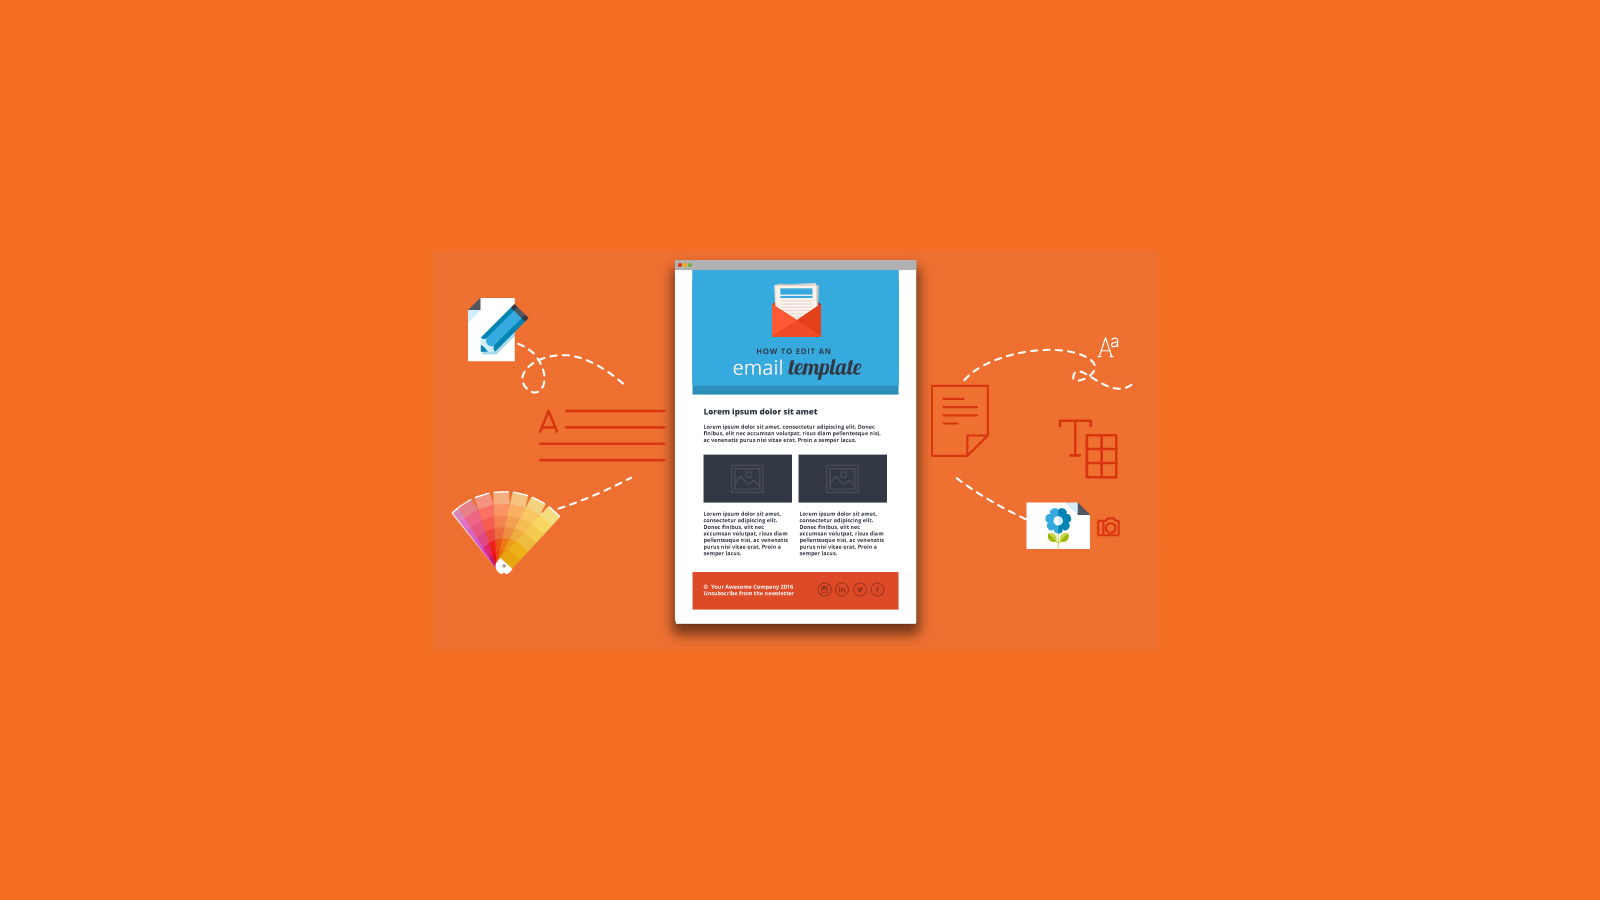
If you are new to email development, the work of customizing a template can seem overwhelming. But don’t worry. We’ve written this blog to walk you through how to make cosmetic and text changes to a template.
These techniques can be used with any of the free templates we offer in our Resources Center. For the purposes of this blog, we’ll be customizing the Coffee Shop template. We will change the template from a coffee shop theme to one that advertises a sushi restaurant. Click on the images below to see what the whole email looks like, before and after.
Step 1: Open the HTML File
You’ll need a text editor to work in. Don’t use Word for this! You can use Notepad (or TextEdit on Mac) for this purpose. I really like Notepad++, which is free and has great features.
You can also use our brand new Email Editor to do this entire tutorial. Just select “Choose a template” and pick the Coffee Shop template from the list. The editor will show you a live preview of your code, and also allows for instant testing.
Step 2: Cut Unwanted Sections
The first thing you’ll want to do is identify any unwanted sections that are included in the template you are using. In this template, each section is built into a single table, so we’ll want to remove the whole table to get rid of the section.
Every template is coded differently, so you’ll have to assess exactly what to remove on a case by case basis. You may need to remove a row, table cell or entire table to get rid of unwanted sections. Use comments to guide you as you try to find the beginning and end of an unwanted section. In this case, the Coffee Shop template is well commented which makes it easy to identify the beginning and end of each content block.
HTML comments look like this:
                                <!-- ======= start divider ======= -->
	<!-- another comment -->
For this example, we’ll cut the 3 column content block (which appears just above the footer), as well as the divider that precedes it.
                                <!-- ======= start divider ======= -->
<table class="one-column" border="0" cellpadding="20" cellspacing="0" width="100%" style="border-spacing:0;background-color: #ded6bf;" bgcolor="#ded6bf">
...more code here...
</table>
<!-- ======= end divider ======= -->

<!-- ======= start three column ======= -->
<cellpadding="0" cellspacing="0" border="0"  width="100%" style="background-color: #ded6bf;" bgcolor="#ded6bf">
...more code here...
</table>
<!-- ======= end three column ======= -->
Go ahead and cut those two sections. Make sure to cut the comments, too, as those won’t be needed.
Step 3: Change Images
Now we’re going to replace the images with ones for our sushi restaurant. Let’s start with the logo. You can find the logo image in the code by using Ctrl+F and searching for “Logo.”
The image tag should look like this:
<img border="0" style="display: block; width: 136px;" src="https://www.emailonacid.com/images/emails/coffeeshop/coffee-shop-logo.png" alt=""/>
The “src” attribute is what controls the image that’s displayed. After hosting your image, you’ll want to use the absolute path, or URL, to display the image in your email.
As long as your new logo is the same dimensions, all you should have to change is the src attribute of the image. You can use a logo with different dimensions, just make sure to change the inline width style. Our new logo will look like this:
<img border="0" style="display: block; width: 136px;" src="https://www.emailonacid.com/images/blog_images/Emailology/2016/cust_template/sushi-logo.jpg" alt=""/>
You’ll want to change the src attributes for the rest of the images in the template. Just make sure each image is saved in the same dimensions as the original.
You can also use images saved in the same proportions (a 400×200 image in a 200×100 spot) as long as you set the height and width that you want it to display at using HTML attributes. This will enable you to use retina images for iOS devices. The below example shows the code you’d need to set an image to display at 200px wide, despite being saved at 400px wide.
<img border="0" width="200" style="display: block; width: 200px;" src="https://www.emailonacid.com/images/an-image.png" alt=""/>
Step 4: Customize Colors
Now that the images have been replaced, it’s time to fix the colors. The earth tones used for our coffee shop email don’t look very good with all of these bright sushi images.
We’ll begin by changing the background color of the email. Background colors in email are set primarily using background-color style and bgcolor attribute. To make this change, find the body tag of the email. The body tag follows the closing head tag. You can see the background color is set to #4d3e39. A background color is sometimes set in more than one place, usually to get a consistent display across all email clients. In this case, the color is set in three places (at the end of each line).
                                <body style="Margin:0;padding-top:0;padding-bottom:0;padding-right:0;padding-left:0;min-width:100%;background-color:#4d3e39;">
	<center class="wrapper" style="width:100%;table-layout:fixed;-webkit-text-size-adjust:100%;-ms-text-size-adjust:100%;background-color:#4d3e39;">
	<table width="100%" cellpadding="0" cellspacing="0" border="0" style="background-color:#4d3e39;" bgcolor="#4d3e39;">
Let’s change all three of those to a nice, rich #9e3212.
                                <body style="Margin:0;padding-top:0;padding-bottom:0;padding-right:0;padding-left:0;min-width:100%;background-color:#9e3212;">
	<center class="wrapper" style="width:100%;table-layout:fixed;-webkit-text-size-adjust:100%;-ms-text-size-adjust:100%;background-color:#9e3212;">
	<table width="100%" cellpadding="0" cellspacing="0" border="0" style="background-color:#4d3e39;" bgcolor="#9e3212;">
Now we’ll edit the background color of the main content column of the email. Look for the “start main body” comment in the code. This is the table that contains most of the content of the email and confines it to a central column. As you can see, this color is set to #ded6bf.
                                <!-- ======= start main body ======= -->
	<table class="outer" align="center" cellpadding="0" cellspacing="0" border="0" style="border-spacing:0;font-family: Verdana, sans-serif;color:#333333;Margin:0 auto;width:100%;max-width:600px;" bgcolor="#ded6bf">
Let’s change this to something that will match our new color scheme better, like #EBF1E5.
                                <!-- ======= start main body ======= -->
	<table class="outer" align="center" cellpadding="0" cellspacing="0" border="0" style="border-spacing:0;font-family: Verdana, sans-serif;color:#333333;Margin:0 auto;width:100%;max-width:600px;" bgcolor="#EBF1E5">
Use Ctrl+H to replace all instances of #ded6bf with #EBF1E5.
Now we’ll want to edit text colors, specifically headings. Text color is set using the color style. Currently, the headings are #222. Let’s change them to match our new sushi colors. A shade of orange, like #fe7c24 should stand out nicely. Find each heading in the email and edit the color style as follows.
<p style="font-size: 28px; line-height:40px; text-decoration: none; color: #fe7c24;font-family: Georgia, sans-serif;text-align:center; text-transform:uppercase;font-weight:bold;Margin-top:10px;">Discover our distinctive blends</p>
Finally, let’s change the button color. We had been using #db7447, but let’s brighten that up to #fe7c24 to match our headings. The button color here is set as a bgcolor, background color and border color.
                                <table border="0" align="center" cellpadding="0" cellspacing="0" style="Margin:0 auto;">
  <tbody>
    <tr>
      <td align="center">
        <table border="0" cellpadding="0" cellspacing="0" style="Margin:0 auto;">
          <tr>
            <td align="center" bgcolor="#fe7c24" width="150" style="-moz-border-radius: 4px; -webkit-border-radius: 4px; border-radius: 4px;">
              <a href="https://www.example.com" style="padding: 10px;width:150;display: block;text-decoration: none;border:0;text-align: center;font-weight: bold;font-size: 14px;font-family: Arial, sans-serif;color: #ffffff;background: #fe7c24;border: 1px solid #fe7c24;-moz-border-radius: 2px; -webkit-border-radius: 2px; border-radius: 2px;line-height:17px;text-transform:uppercase;letter-spacing: 1px;" class="button_link">Learn More</a>
            </td>
          </tr>
        </table>
      </td>
    </tr>
  </tbody>
</table>
Step 5: Change Font(s)
The font stack (or font-family style) determines what font text should be in, as well as some acceptable fallback fonts for clients that don’t have your preferred font. The easiest way to edit the font stack is to find an example of it in the email, and then use Ctrl+H to replace every instance of it. In the Coffee Shop template, the heading font stack looks like this:
font-family: Georgia, sans-serif;
Search for this string in the email using Ctrl+H, and then replace it with:
font-family: Arial, helvetica, sans-serif;
We won’t change the paragraph font for this tutorial, as this font already works nicely with the template.
Step 6: Edit Text
This is a fairly easy step. You’ll want to identify the text blocks in the email code and switch out the text with your desired content. All of the remaining text should be in paragraph or anchor (link) tags. We’ll want to edit every text block in the template, but I’m just going to use the first one as an example.
Inside article 1, you’ll find the “Discover our distinctive blends” headline. It looks like this in the code.
<p style="font-size: 28px; line-height:40px; text-decoration: none; color: #fe7c24;font-family: Georgia, sans-serif;text-align:center; text-transform:uppercase;font-weight:bold;Margin-top:10px;">Discover our distinctive blends</p>
Let’s change that to read, “Try our new mega sushi roll!”
<p style="font-size: 28px; line-height:40px; text-decoration: none; color: #fe7c24;font-family: Georgia, sans-serif;text-align:center; text-transform:uppercase;font-weight:bold;Margin-top:10px;">Try our new mega sushi roll!</p>
You may also want to add preheader text. Look for the “PREHEADER TEXT HERE” comment. The code should look like this.
                                <tr>
  <td style="width:100%;display:none !important;visibility: hidden;mso-hide:all;font-size:1px;color:#333;line-height:1px;max-height:0px;max-width:0px;opacity:0;overflow:hidden;">
    <!-- ======= PREHEADER TEXT HERE ======= -->
  </td>
</tr>
Let’s change that to read, “$2 Rolls – Sushi Happy Hour 4-6pm Daily”. Don’t forget to delete the comment tags! If the text is commented out, it won’t appear as a preheader.
                                <tr>
  <td style="width:100%;display:none !important;visibility: hidden;mso-hide:all;font-size:1px;color:#333;line-height:1px;max-height:0px;max-width:0px;opacity:0;overflow:hidden;">
    $2 Rolls - Sushi Happy Hour 4-6pm Daily
  </td>
</tr>
Step 7: Change Link Destinations
Finally, let’s look at changing an anchor link‘s href. The href controls what page URL the link points to. We’ll use a button as an example.
                                <table border="0" align="center" cellpadding="0" cellspacing="0" style="Margin:0 auto;">
  <tbody>
    <tr>
      <td align="center">
        <table border="0" cellpadding="0" cellspacing="0" style="Margin:0 auto;">
          <tr>
            <td align="center" bgcolor="#fe7c24" width="150" style="-moz-border-radius: 4px; -webkit-border-radius: 4px; border-radius: 4px;">
              <a href="https://www.example.com" style="padding: 10px;width:150;display: block;text-decoration: none;border:0;text-align: center;font-weight: bold;font-size: 14px;font-family: Arial, sans-serif;color: #ffffff;background: #fe7c24;border: 1px solid #fe7c24;-moz-border-radius: 2px; -webkit-border-radius: 2px; border-radius: 2px;line-height:17px;text-transform:uppercase;letter-spacing: 1px;" class="button_link">Learn More</a>
            </td>
          </tr>
        </table>
      </td>
    </tr>
  </tbody>
</table>
The linked part of this button is the “a” tag, or anchor tag.
<a href="https://www.example.com" style="padding: 10px;width:150;display: block;text-decoration: none;border:0;text-align: center;font-weight: bold;font-size: 14px;font-family: Arial, sans-serif;color: #ffffff;background: #fe7c24;border: 1px solid #fe7c24;-moz-border-radius: 2px; -webkit-border-radius: 2px; border-radius: 2px;line-height:17px;text-transform:uppercase;letter-spacing: 1px;" class="button_link">Learn More</a>
We’ll edit the href to point this to a new page.
<a href="https://www.happysushirestaurantplace.com" style="padding: 10px;width:150;display: block;text-decoration: none;border:0;text-align: center;font-weight: bold;font-size: 14px;font-family: Arial, sans-serif;color: #ffffff;background: #fe7c24;border: 1px solid #fe7c24;-moz-border-radius: 2px; -webkit-border-radius: 2px; border-radius: 2px;line-height:17px;text-transform:uppercase;letter-spacing: 1px;" class="button_link">Learn More</a>
Now the link points to the restaurant, helping to drive traffic there.
Conclusion
We now have a template that matches the brand colors and fonts of a different company. By avoiding changes to the structure of the template as much as possible, the template should still render reliably.
However, whenever you make changes to a template, it’s always best to test. Don’t have a quick and reliable way to do that? Try our 7 day free trial! Through our platform, you can test your template in a wide range of email clients and mobile devices in seconds.


