Help Article
How to Run a Spam Test Via Seed List
If you are sending your email through an email service provider (ESP), Seed List Spam Testing is our recommended option. The seed test will give us more insight into spam impact of:
- Email Server Reputation
- Sender Email Address
- Sender IP address
- Email Server Configuration
- Email Content and Subject Line
- IP Blocklisting
To run a spam check via seed test:
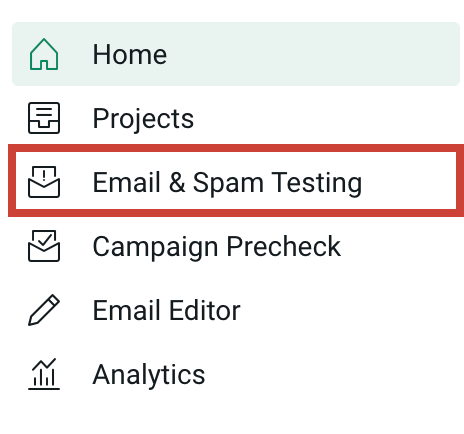
1. Click on Email & Spam Testing in the navigation pane.
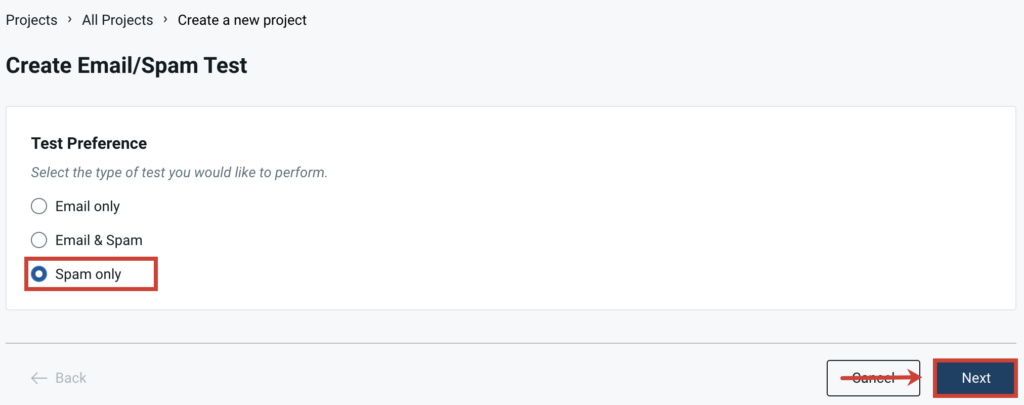
2. Choose Spam only and click Next.
You will have three options to choose from for the spam test, click the radial button in front of I will send each test email from my ESP using a provided seed list.
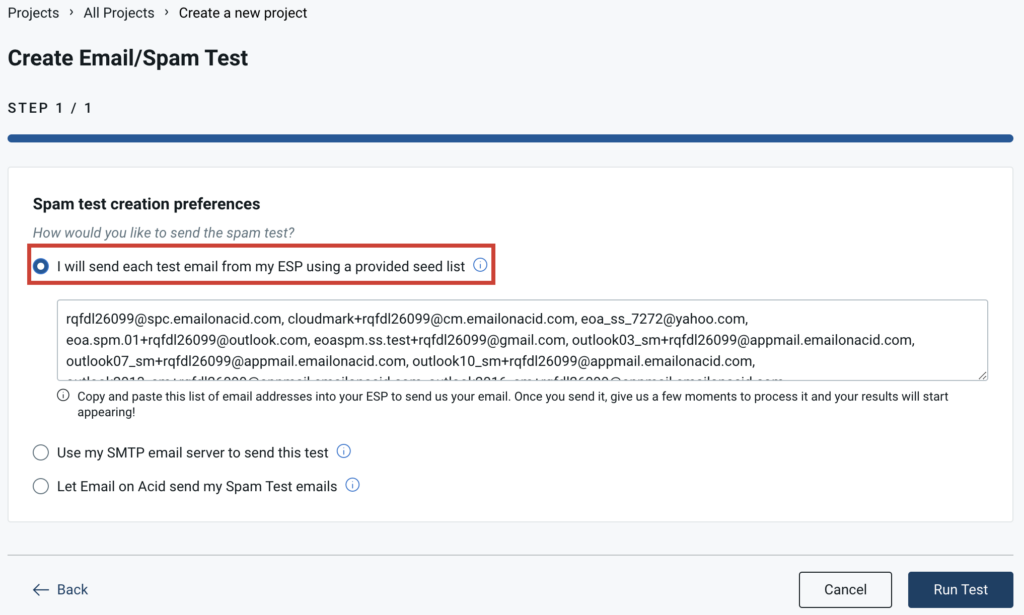
3. Copy the list of emails.
Make sure to use a fresh seed list every test. If a seed list is re-used the process will fail.
1. Create one single email from your ESP and paste all the emails from the seed list into the ”To” field, but do not click send.
2. Click Run Test.
3. Send the email containing the seed list from your ESP.
Once sent, results will begin to display immediately. It can, however, take some spam filters a bit longer to return a response. Give it up to 10 minutes.
If you fail a spam filter, these articles may help you better understand your results:
- Why did my email fail in certain spam filters?
- Why are my spam analysis results so vague?
- Why did my email pass my spam filter but not yours?
- How email spam tests work and what you can do to pass them.
Troubleshooting a Spam Test Via Seed List
If any results are missing for your test after waiting here are a few things to try:
1. Re-send the email with the same subject and content to the Seed List addresses. The subject and content must be identical for this to work but will encourage the missing results to populate. You can access the seed list again at any time by clicking on View Seed List

2. Please be sure to send your email directly to the Seed List addresses, without using the CC/BCC/FWD fields.
3. Run a fresh test making sure to click Run Spam Test before sending the seed list out.
If you are still encountering issues reach out to our support team at helpdesk@emailonacid.com.