Jump to:
Image Optimization ensures your email images are the intended style and size, are the proper file size for a quick loading times, and will also help you set the first frame image for any GIFs.
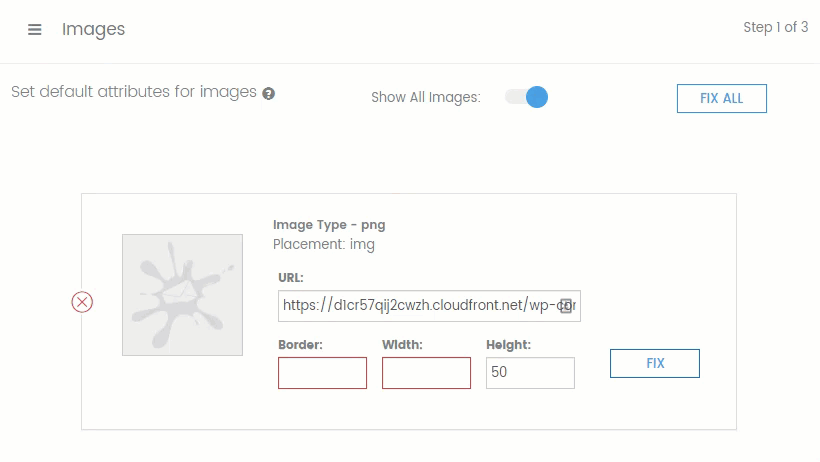
Set Default Attributes for Images
This screen, by default, displays all the images within your email. The images will show on the left and your preview will show on the right.
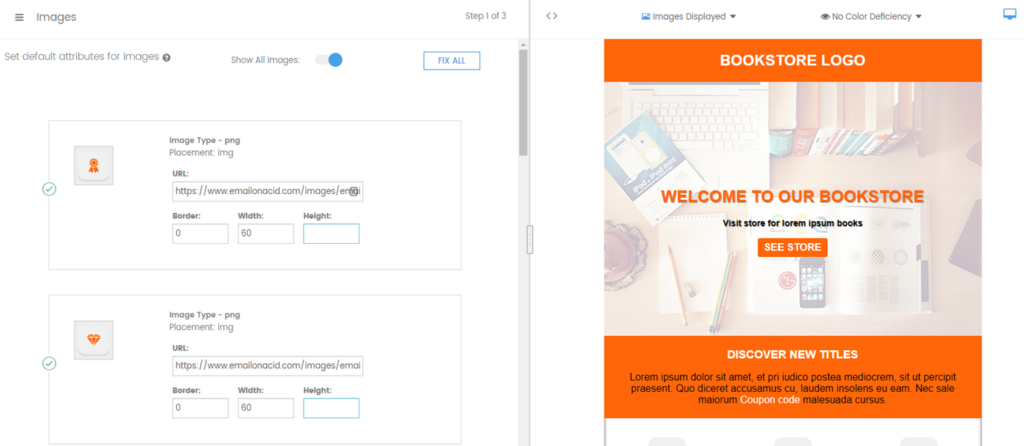
A red “X” shows an image with an issue, while the green checkmark lets you know that your image will render properly.
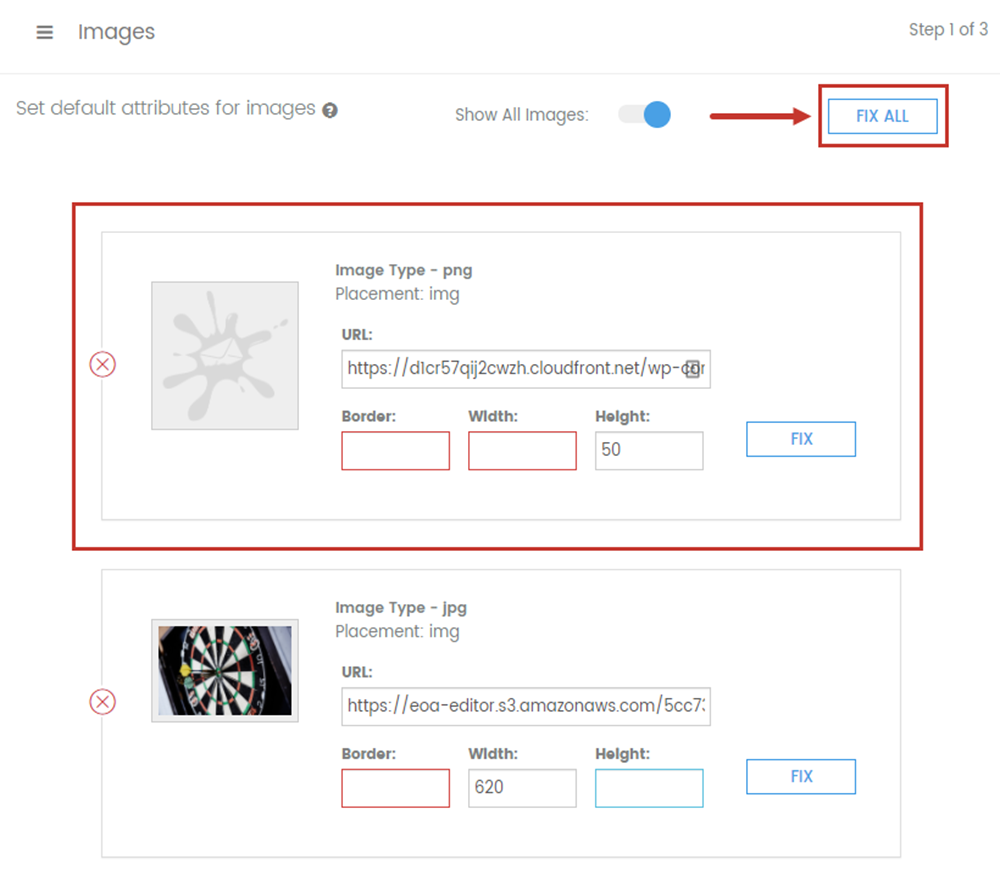
You can click Fix All to update all images at once, or you can update one image at a time. If you click Fix , you will see the border, width, and height will be automatically optimized.
Once you have set default attributes click Next to move on to the next section of your Campaign Precheck workflow, which if following our recommended flow will be Optimizing your GIFs.
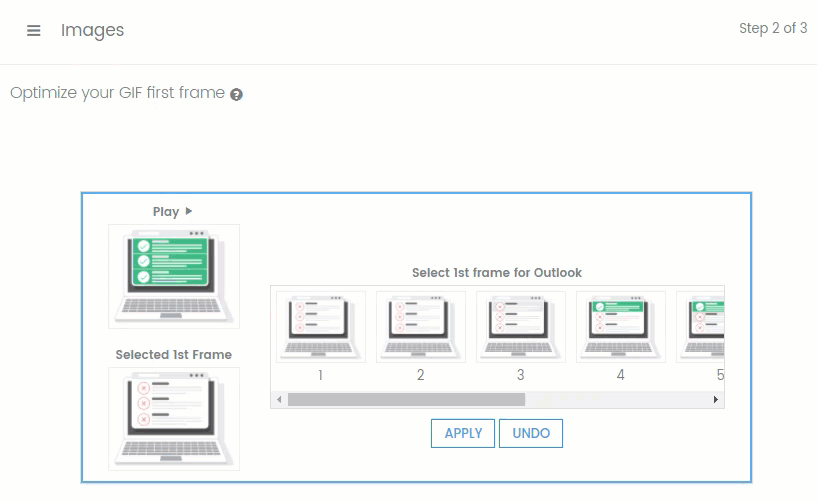
Optimize your GIF
GIFs are a great way to stand out in an inbox! However, not all email clients will display the animation. Instead, they will default to the first frame and show it as a single image.
The options for images will be shown for each GIF. You can select Play to view the new animation. To select your single default image, click on any frame in the animation, then click Apply.
Once you have optimized your GIFs, click Next to move on to the next section of your Campaign Precheck workflow, which if following our recommended flow will be Optimizing the size of your images.
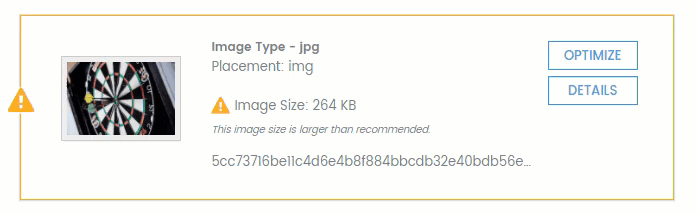
Optimize Your Image Size
You will increase email engagement if subscribers don’t have to wait long for images to render; ideally, less than 2 seconds. We recommend keeping each image size under 200KB. This step detects the size of each image and offers the ability to compress each one. We offer free hosting of images on Amazon Web Services (AWS) and give you the ability to download your new optimized images on the summary page. If desired, this lets you replace large images with the compressed versions in a separate email editor.
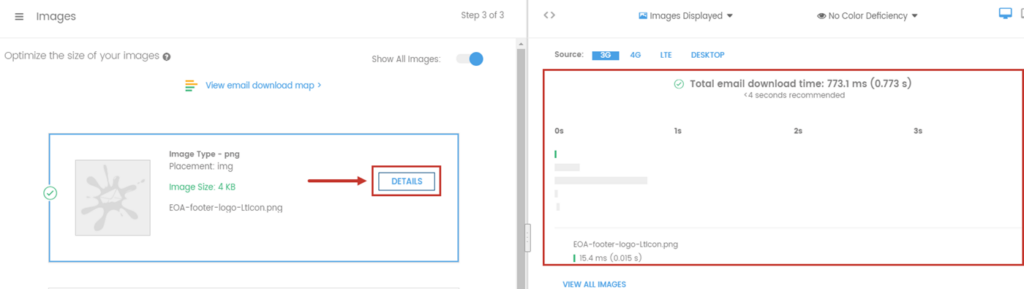
A useful feature on this page is the email download map. To view the total email download time for each image in your email, click View Email Download Map . The map will render in the panel on the right. Click through the various sources to view the download time for each.
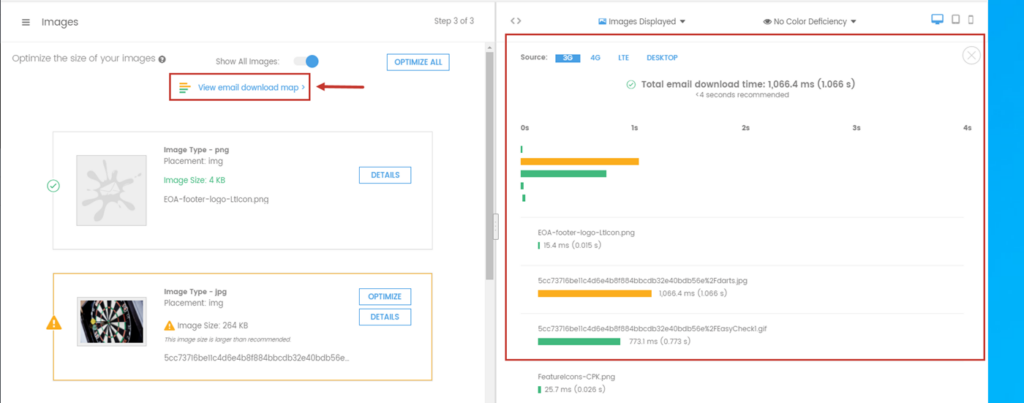
If your image is already optimized, you will see a green checkmark. If the images needs adjustments, you will see a yellow box with a warning sign. You can click Optimize All to fix all images at once, or click Optimize next to each image to fix one at a time.
Click Details next to the image to view the individual download time for each image.
Once you have optimized your images click Next to move on to the next section of your Campaign Precheck workflow, which if following our recommended flow will be Spell Check.