EOA News
Getting Started: Using Your Email Test Results

EOA News
This post was updated on June 11, 2018. It was originally published in September 2014.
Are you new to Email on Acid? If so, we’d like to walk you through the process of getting your email test results, as well as how to analyze and troubleshoot your test results.
We’ve already given you the lowdown on how to run a test, but now we are going to get into the nitty-gritty of how to navigate through your test results and all the features you can use if you run into coding problems.
Once you’ve run your email test, there are two ways to view your test results. You can access the results through the Inbox, which is located at the top of the left navigation bar.

Your inbox will show results from all tests run within the last 30 days. The newest results will be at the top.
If you want to start viewing some of the results, click on the test subject line and the preview pane will pop up on the right side of the screen. You can click on any thumbnail to go directly into that specific preview. Or, you can click on the diagonal arrows at the top of the pane to expand all your results into a full page.
Click on any preview thumbnail to jump straight into viewing your results. You can also share your test results, inline your CSS, download your screenshots and preview the email you tested directly from this preview pane.
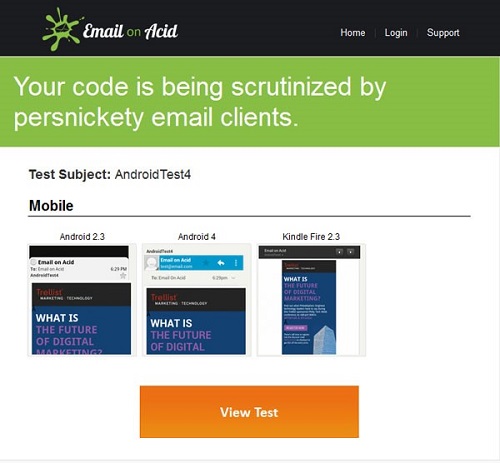
The other way to access your email previews is in your personal email inbox through the autoprocess testing method. If you are running an autoprocess test, you’ll get an email every time you create a new test. We send the email 10 minutes after the test is started. Just click on a thumbnail, or the button at the bottom of the screen, and we’ll take you to the “Shared” results for that test. Because these are the shared results, you won’t need to log in to view them.
Below is an example of test results going to a personal inbox. Please note that shared results don’t have all the features you’ll see when logged in to the Email on Acid platform.
If you aren’t getting your test results delivered to your personal inbox, make sure you have this feature enabled.
Now that you know where your tests are, we’ll get into how you can move around from preview to preview within your test results.
The easiest way to look through each preview is by using your arrow keys. Simply press the left arrow key to go to the previous preview and the right arrow key to jump forward to the next one.
If you have a specific client you want to dive into, hover your mouse over the right navigation bar and you’ll see a full list of the clients and devices you tested. From the navigation bar, click on the client you’d like to view. Use the pin icon to make the right navigation bar stay expanded.
Not seeing a client you wanted to test? This can happen if the client is not checked in your email client default settings. Click here to get instructions on editing your default clients.
Email on Acid also provides vertical AND horizontal mobile views. Drag, slide, and rotate your email just like you would when viewing it in the actual device. That’s four screen captures for each rotating device:

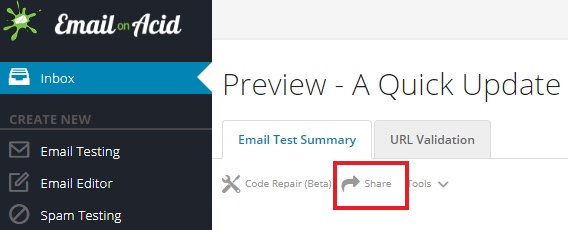
Once all your test results are looking good, you can share your results easily with your colleagues. Simply click “Share” and copy the link. Send it out to collaborate with your team.
While thumbing through your test previews, you may notice that none of your links or images are clickable. This is because we return only a screenshot of exactly what your email looks like within each inbox. Don’t worry – you can still check to make sure those links and images work properly.
To check all the links and images within your email, click the “URL Validation” tab.

You will see validation and reputation information for each hyperlink and image. This means you can see if any links resolved with error messages or if any link domains are blocklisted. Check out a sample below:
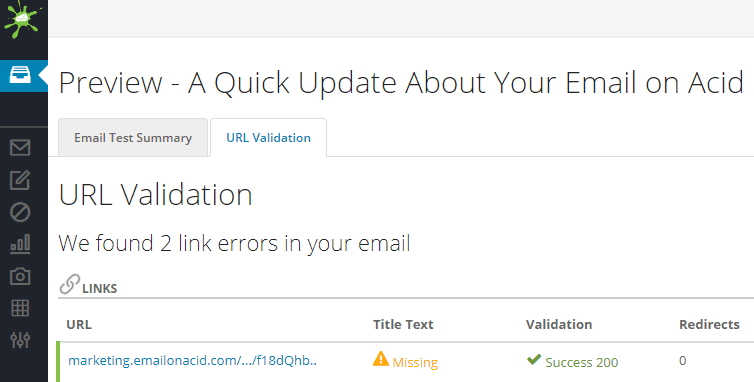
Email on Acid lists all your URLs individually, so you can identify any URL that may be causing a problem. Including blocklisted URLs in your email can cause spam filters to flag your message.
Now that we’ve covered how and where to view your tests, here are some steps you can take when you find problems in your test results.
All email clients use different rendering engines to display an email. That’s why your email could look beautiful in one client, but not in another. Or, you could have made a simple coding mistake – it happens to the best of us. Luckily, we’re here to help. When you see problems with your previews, there are a couple steps you can take:
When you are scrolling through your previews, note which clients are having rendering issues. This will help you easily isolate the clients when it is time to troubleshoot.
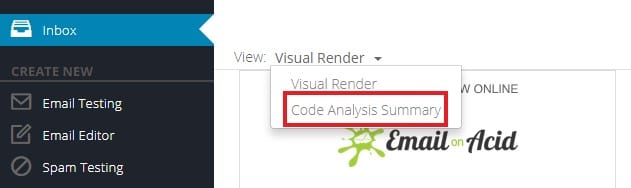
Our Code Analysis identifies code elements that are not supported in each email client. Warnings are classified as critical, moderate, or minor. Critical warnings might adversely affect your layout, whereas minor warnings might include unsupported fonts, alt tags, or title tags.
We offer a code analysis for every client and device. To access this tool, click on your email preview and toggle the “View” drop-down menu above the preview. Select “Code Analysis Summary” and the results will be displayed on the right side of the screen.
If you fix the errors laid out in the code analysis tab and you are still seeing the same problems, it’s time for you to dive into our library of coding tricks.
Since 2008, we’ve documented tons of quirks that pop up when developing HTML email. Details and workarounds are provided for each individual client, all from within your test result window!
To access Tips and Tricks for each individual client, make sure you are in the correct preview and click on the “</>” button located to the left of every screenshot. In the example below, we are in AOL Chrome (Mac) so when we click on the Tips and Tricks tab, we see workarounds specifically related to AOL.
Over the years we have built up a killer library of resources on our blog, all thanks to some great email developers, marketers and designers. Blog comments offer an interactive place to go and figuratively stand around the water cooler talking about email code and quirky clients.
We also post to our blog weekly with email tips and tricks covering topics like how email file size affects deliverability and why Outlook is adding those extra lines to your email. It’s our job to stay on top of coding issues and the newest client oddities so you don’t have to.
Every now and then, a “stitching” issue can occur when we are creating your previews. A stitching issue could cut off your email, slice through the middle of your image or have the email be spliced and stitched back together in an unnatural manner. If you see part of an image missing, it’s either because the containing element is too small, or because a stitching issue occurred. Sometimes, you can fix a stitching issue simply by reprocessing your screenshot.
Check out an example of an email that fell victim to minor stitching issues below:

To resubmit your screenshot, click on the preview that is having stitching issues and find the “Reprocess Screenshot” button at the top of the dashboard. It looks like a counterclockwise arrow.

It’s important to note that you can only reprocess a client screenshot one time. Using this feature resubmits the exact same code, so this is not a way to test changes. If you are still seeing rendering issues, try the steps laid out above.
After you’ve found a fix for your coding issues, send another test through our system to verify your fix and make sure it didn’t cause an issue in any other email client. Email testing is an iterative process, and every issue you fix will bring you one step closer to the perfect email.
Want to try all this for yourself? Sign up for a free seven-day trial and give us a shot.
Good luck, and happy testing!
We know what a pain email testing is, but our goal is to simplify the process and make it less of a headache. If there are ways we can improve our platform, let us know! Feel free to leave a comment below, shoot us an email, or hit us up on Facebook and Twitter.